Think of the last time you visited your local lake. What was the water like?
It’s no secret that many cities across the country struggle with protecting their local watersheds from pollutants. A 2018 study conducted by the Minnesota Pollution Control Agency found that about 40% of Minnesota’s lakes and streams do not meet water quality standards.
In our 3-part series on water quality, we’re looking at the ways communities and individuals can develop creative solutions to keep Minnesota waterways healthy and safe. In the first story of the series, we dug into our work of planting rainwater gardens at Tanadoona and Riverside Plaza Apartments. This month, we’re inviting you to get involved by making biodegradable soap!
![]()
Why Biodegradable Soap?
In the mid-1900s soap and detergent manufacturers started replacing traditional soap with synthetic compounds and foaming agents. These foaming agents traveled through drains and ended up in water systems. Water treatment plants couldn’t easily filter them out and they proved harmful to local waterways and their aquatic life.
After the passing of the clean water act in 1972, manufacturers replaced some of the more harmful ingredients but many were reintroduced back into household products like soap in the 1990s.
Because biodegradable soaps are made from ingredients found in nature, they are able to safely return to nature and won’t harm aquatic life and plants. Additionally, they contribute to safer drinking water and are better for septic tanks and drainage systems.
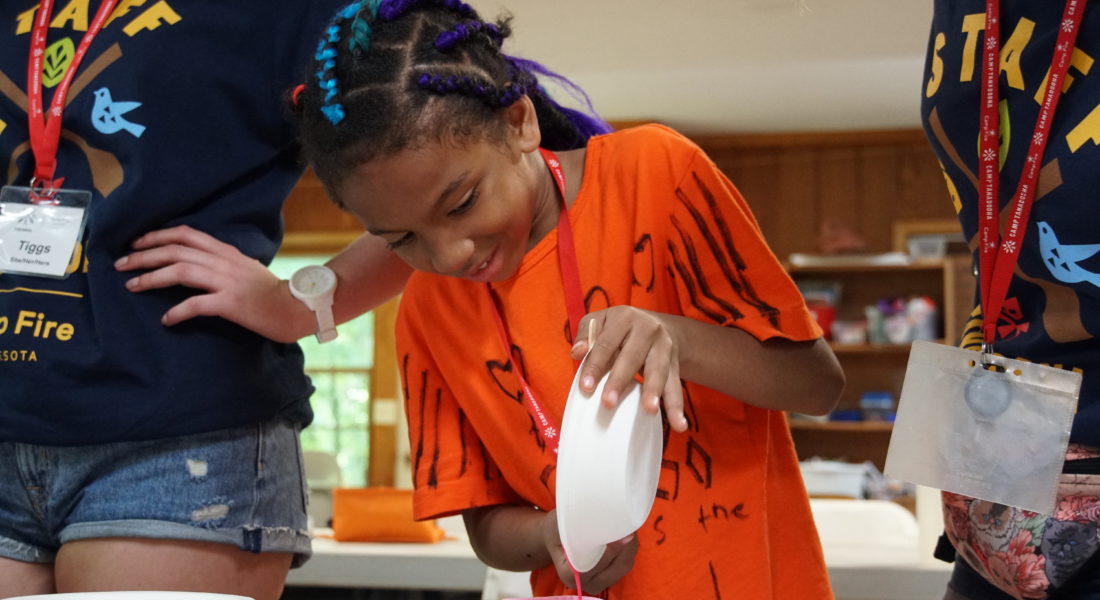
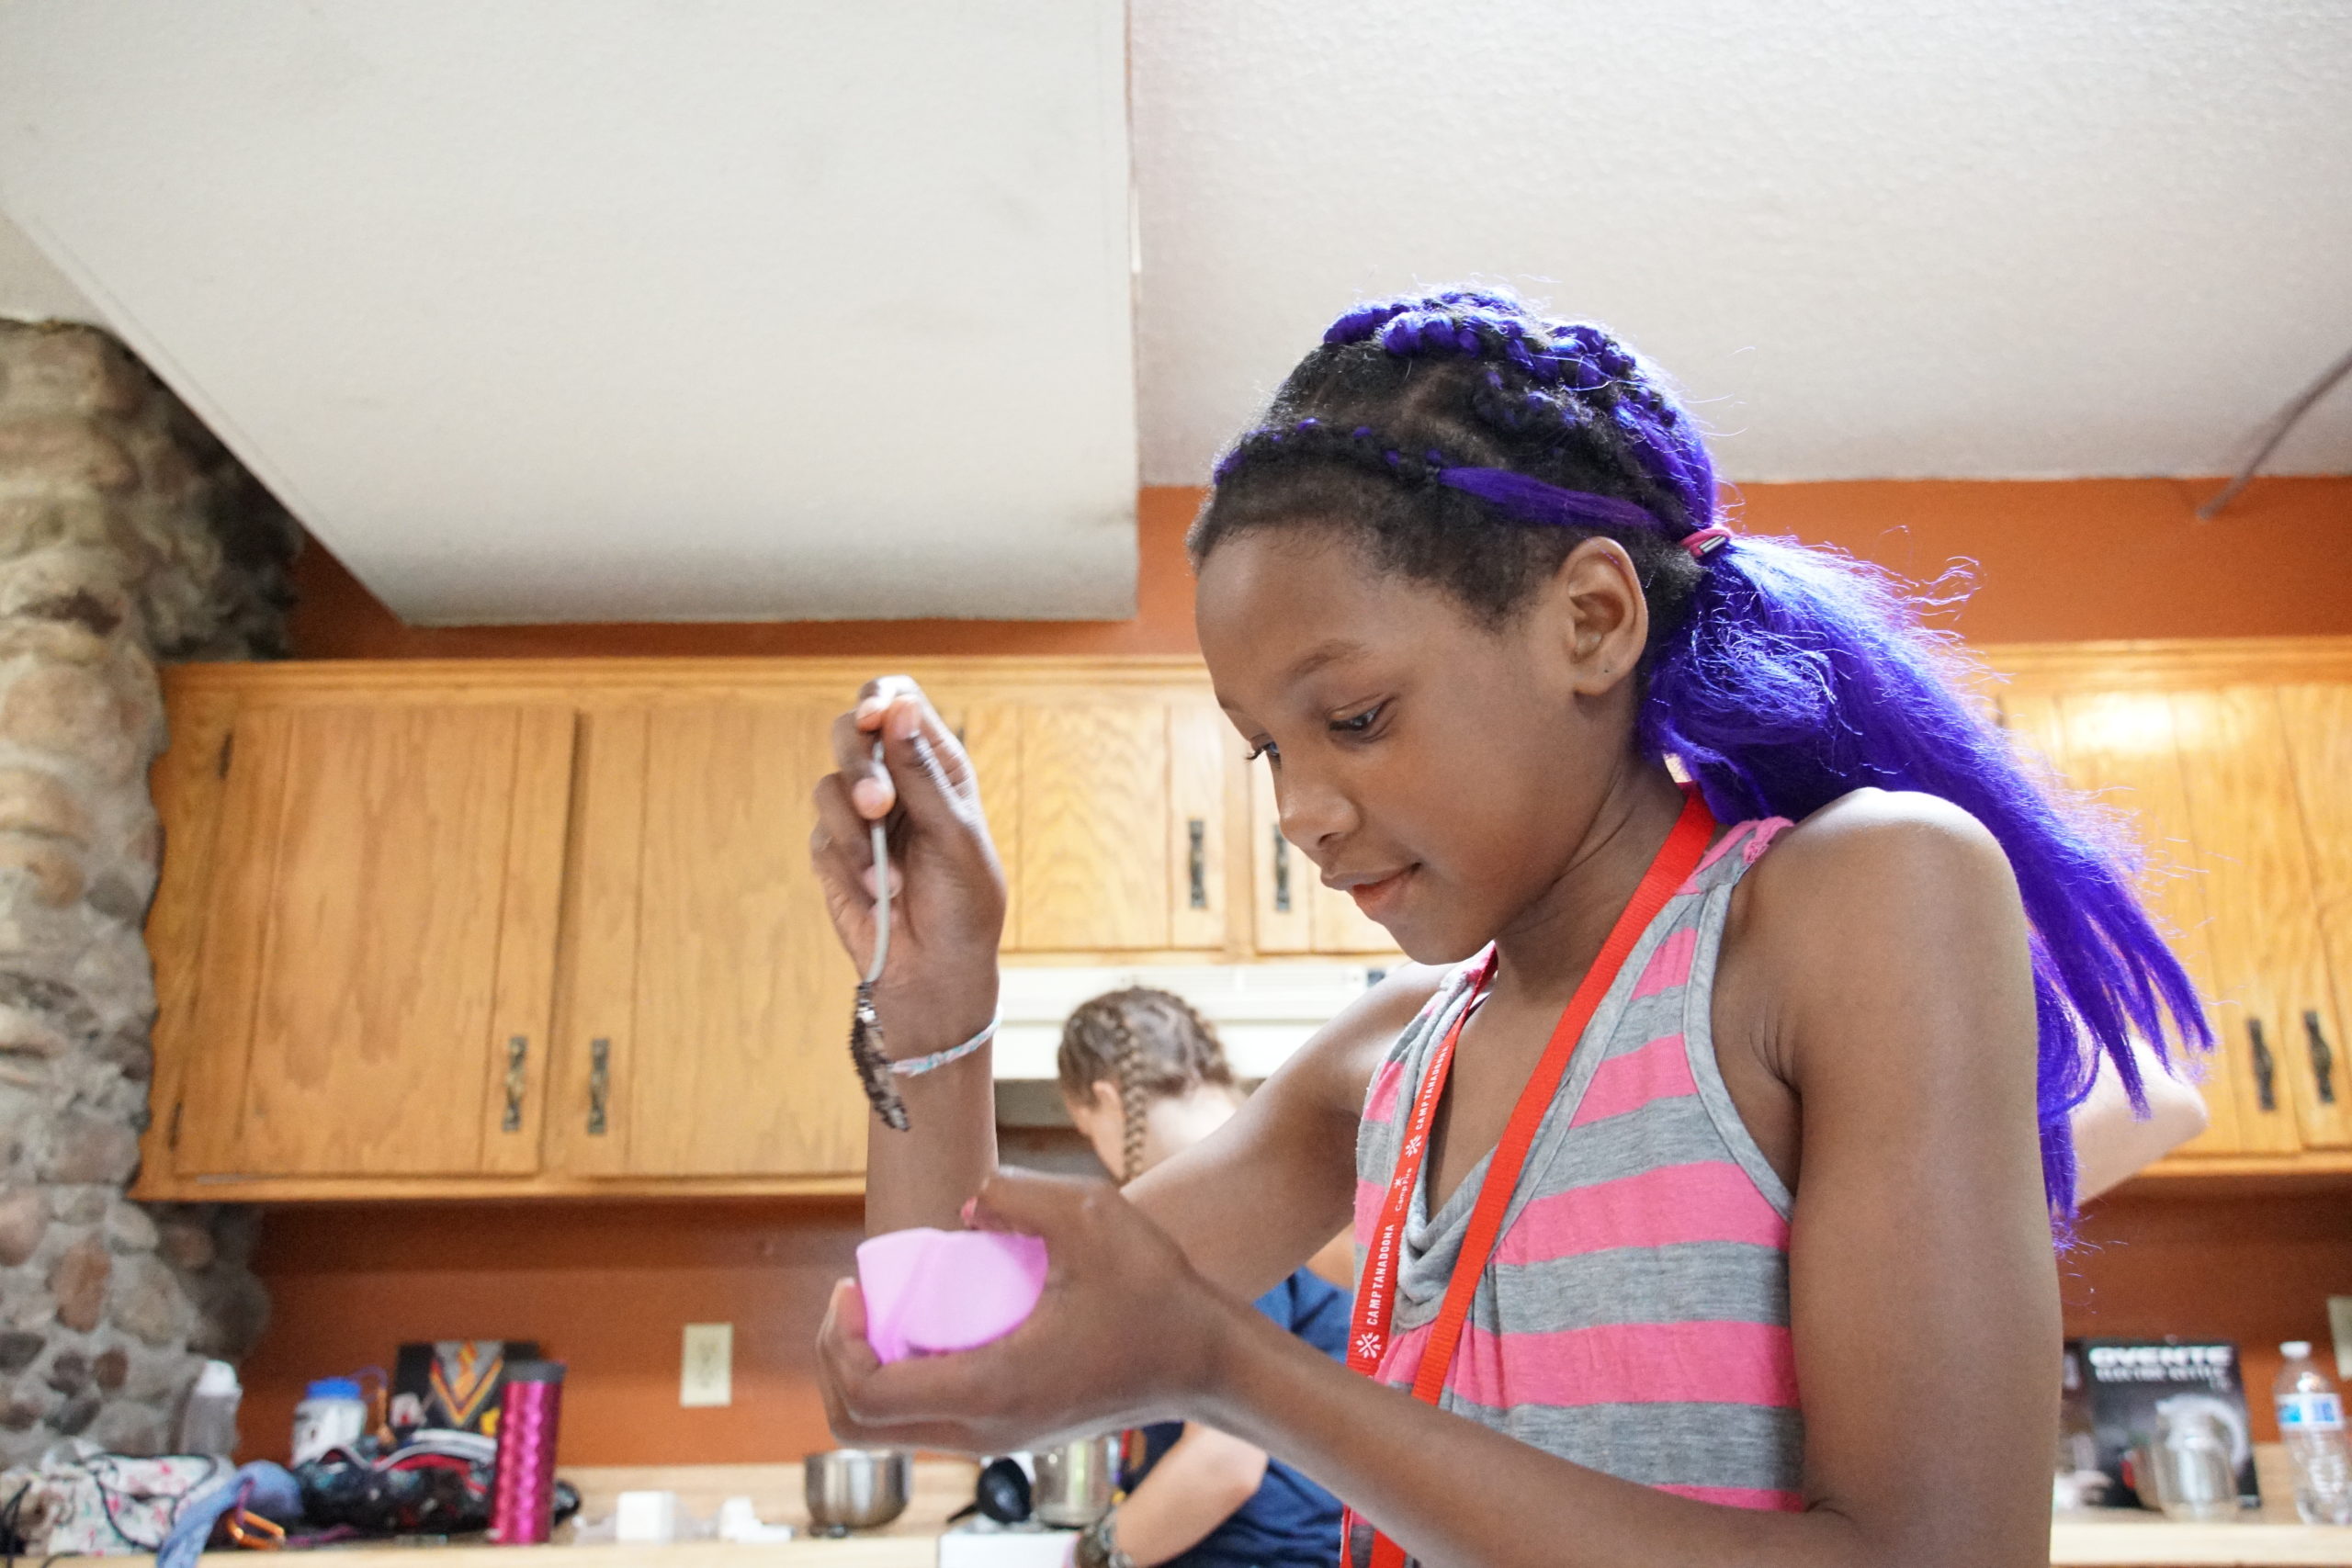
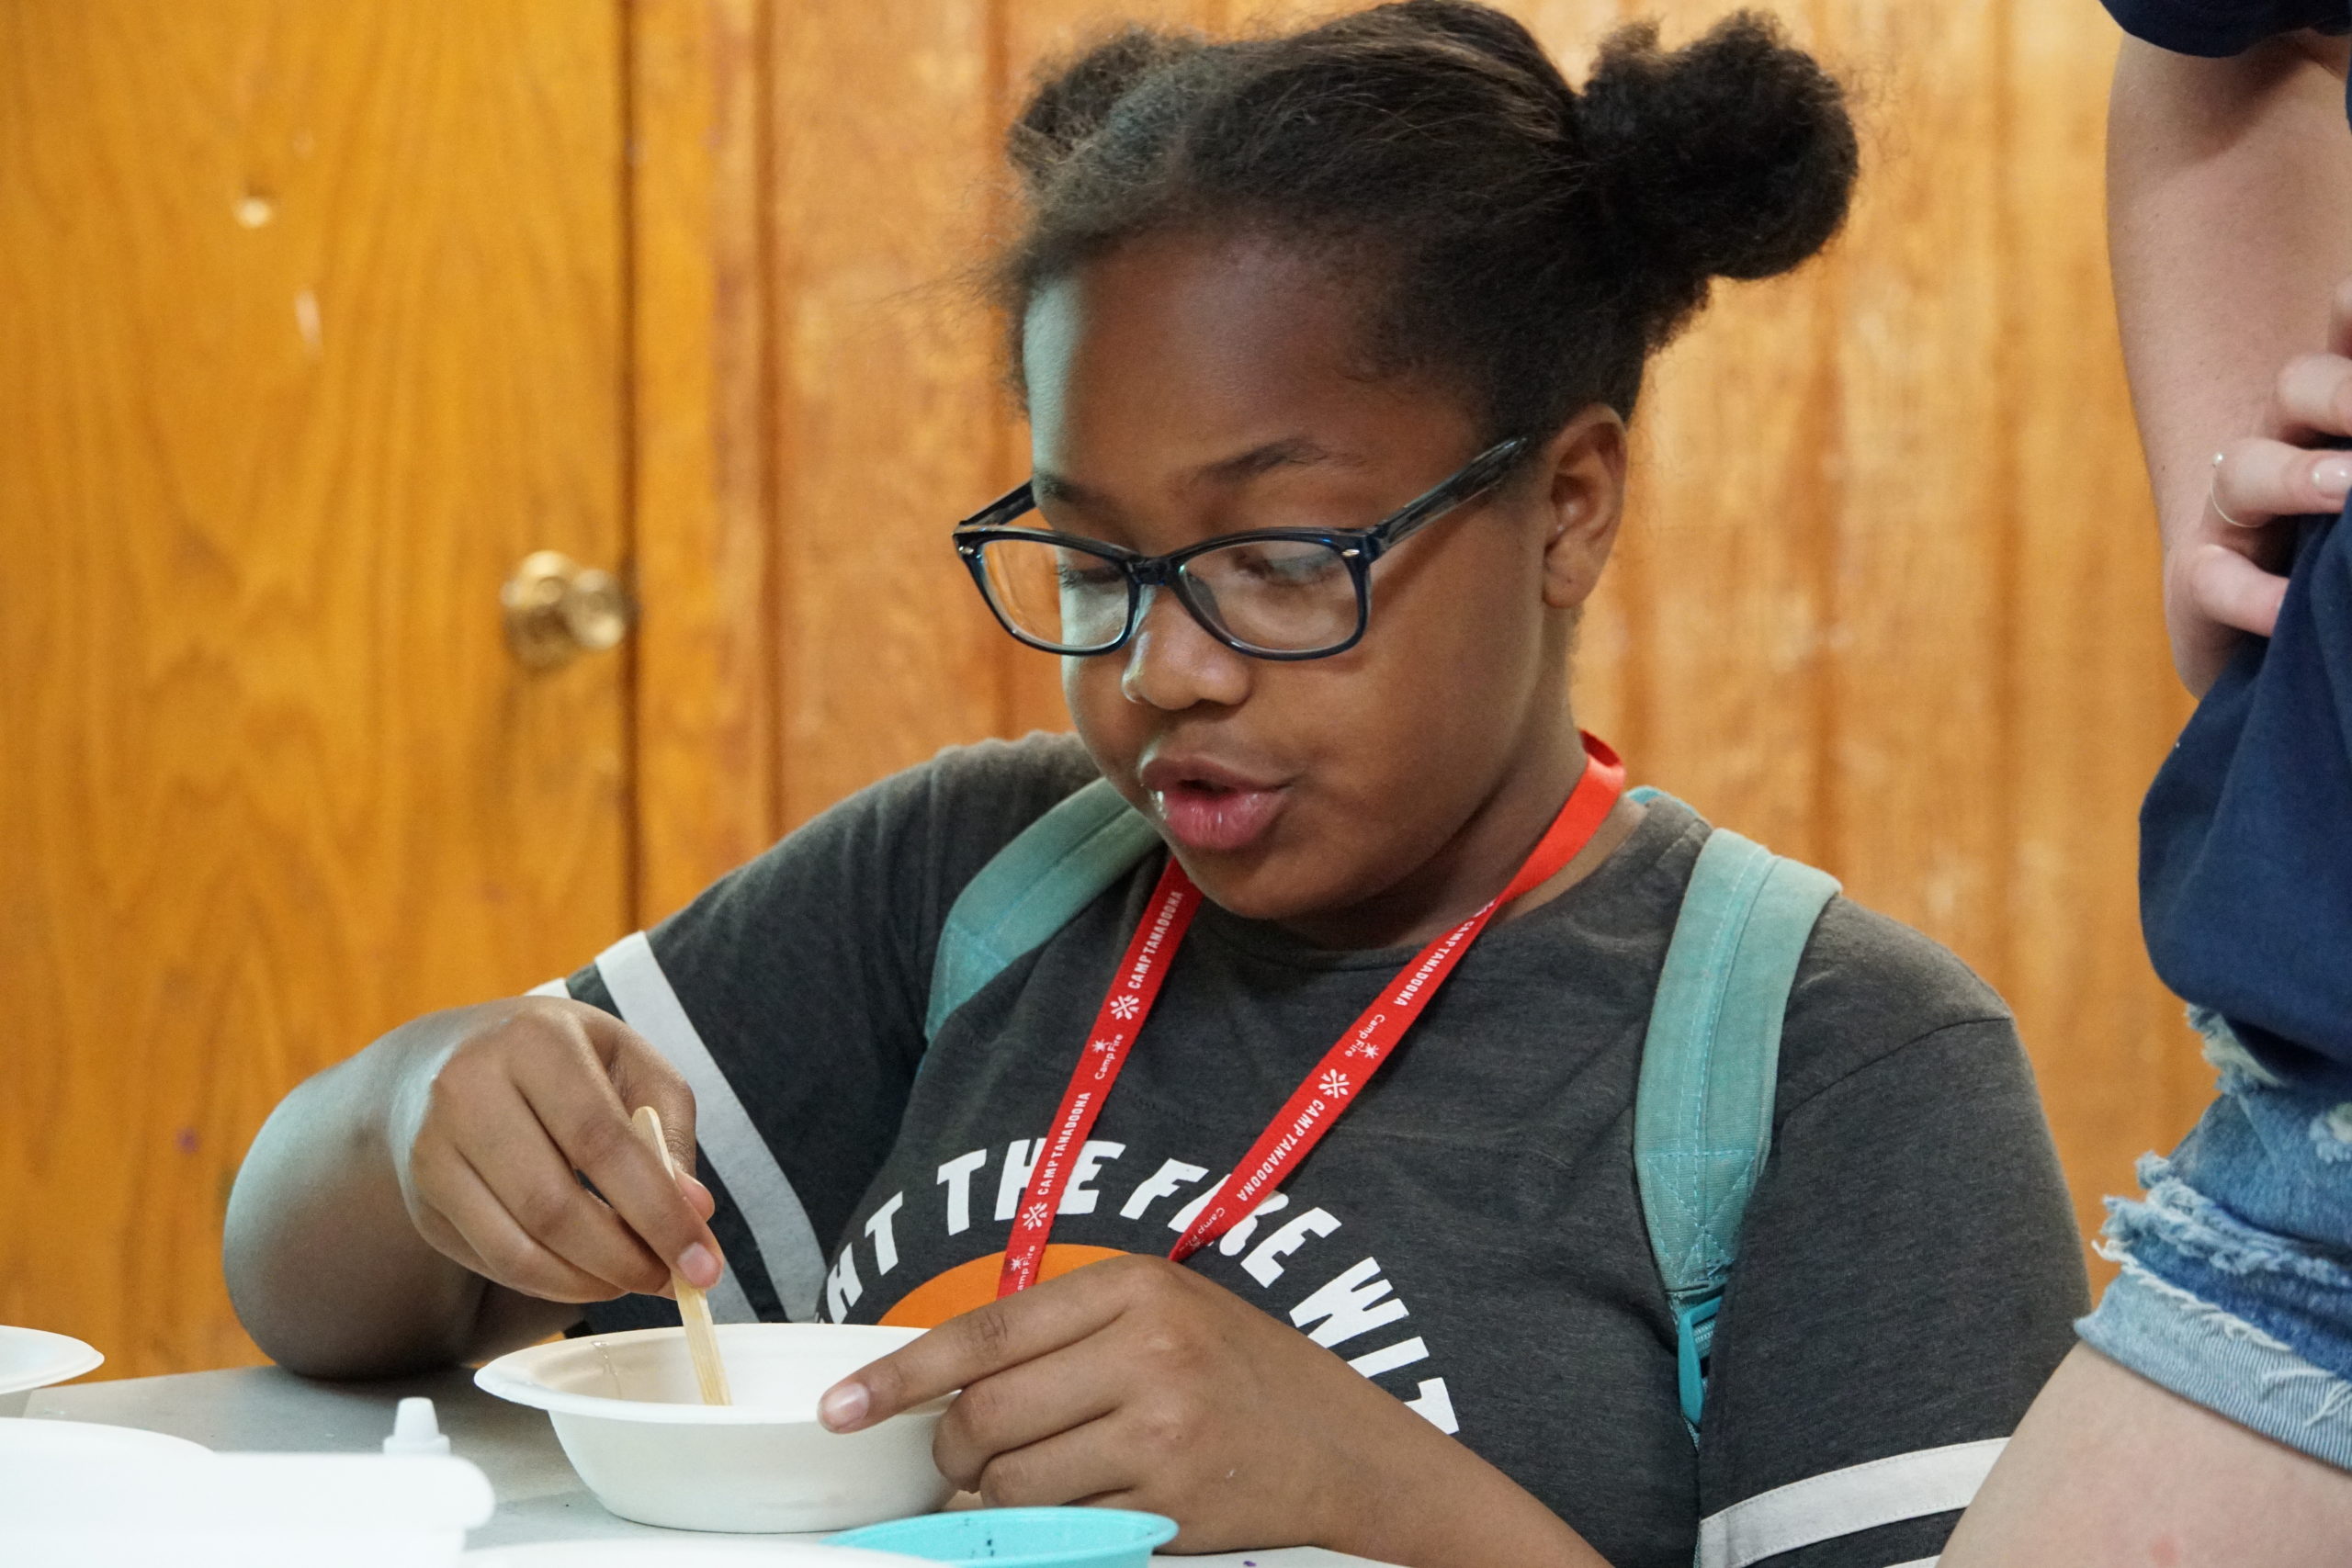
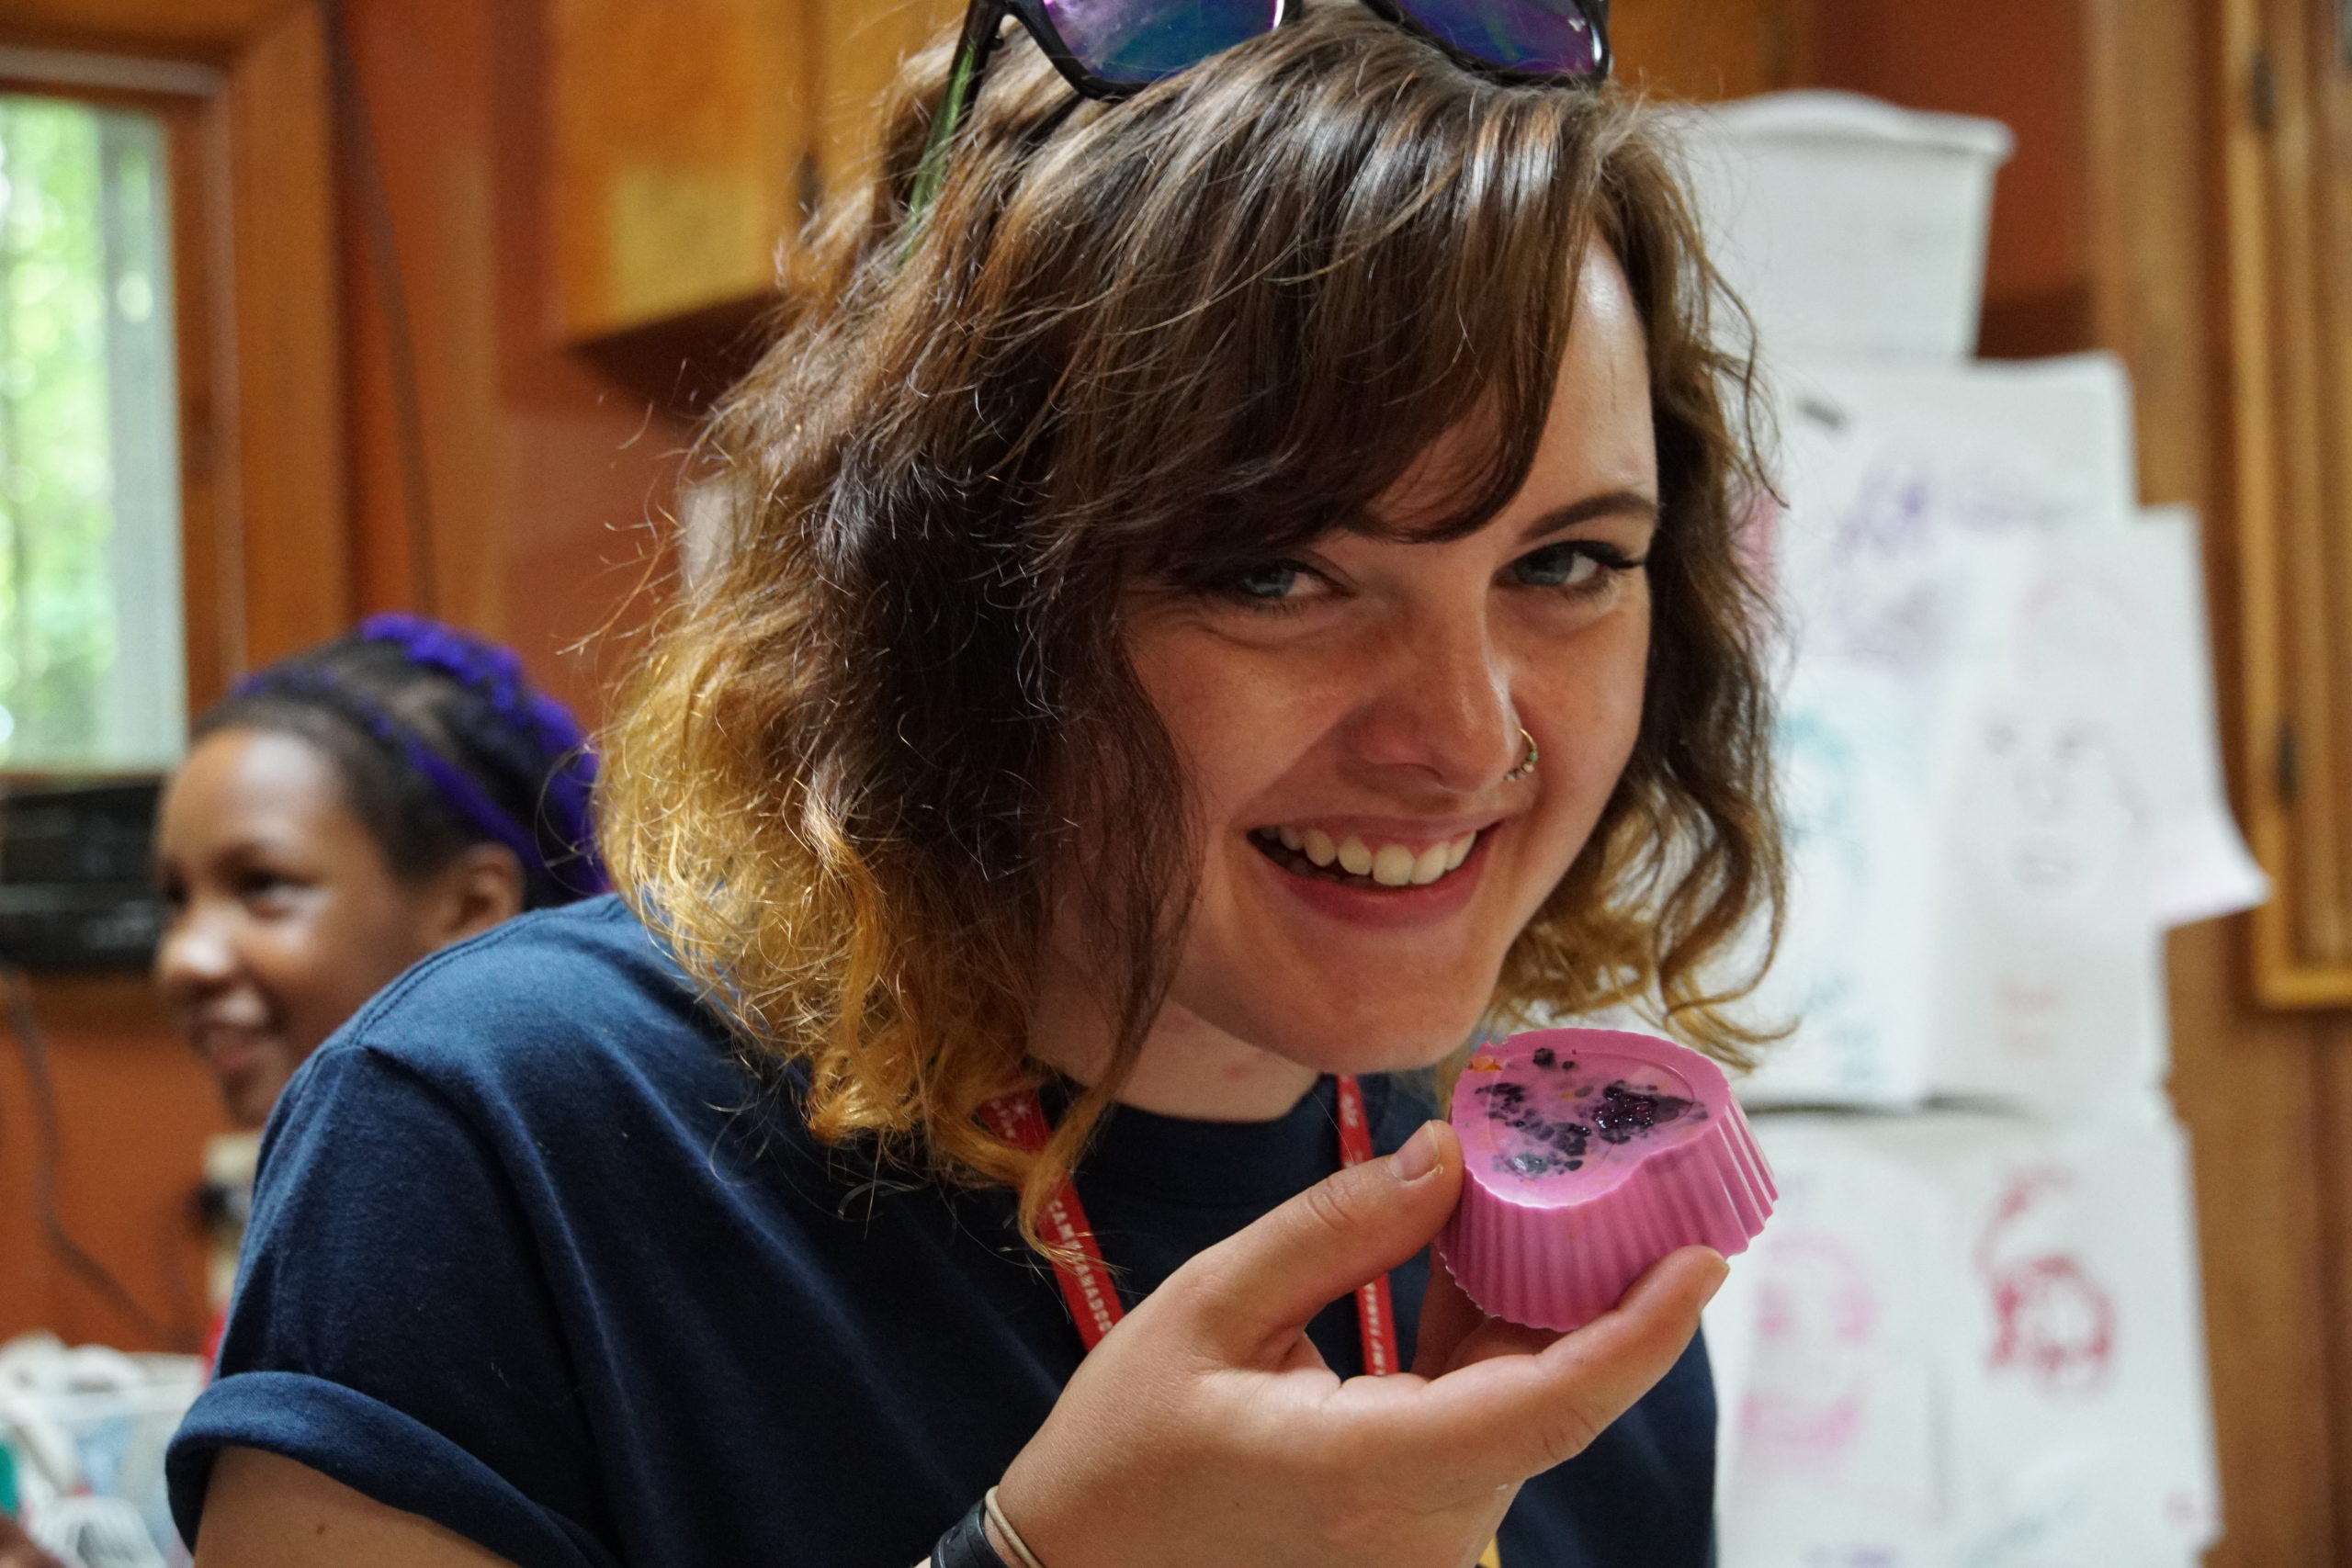
As part of an RBC grant to expand water quality programs and curriculum in our programs, we made biodegradable soap this summer with Camp Fire youth. Try it out for yourself!
What You’ll Need
– Shea butter soap base – Though you can make soap entirely from scratch, using a pre-made base allows you to avoid handling lye, an ingredient that could be harmful to skin if used incorrectly.
– Essential oils
– Flowers (dried or fresh) – We used some from the Tanadoona pollinator garden!
– Molds of various shapes and sizes
The Process
Step 1: Using either a microwave or stove-top, melt the shea butter soap base down to liquid.
Step 2: Pour the melted shea butter base into your molds.
Step 3: The fun part! Add in your color(s) and essential oils, stir until you reach the desired effect. Top with flowers.
Step 4: Leave to set in a refrigerator or cool place.
Step 5: Enjoy! Use during bath time, on camping trips, outdoor excursions, anywhere!
Want to learn more about our water quality work? Stay tuned for Part 3 and…
check out Part 1 from the series