Introduction
Think about water. Where can we find water? Think about how many times you use water throughout the day (drinking, showering, watering plants, etc.). Why is water so important to us?
What is pollution?
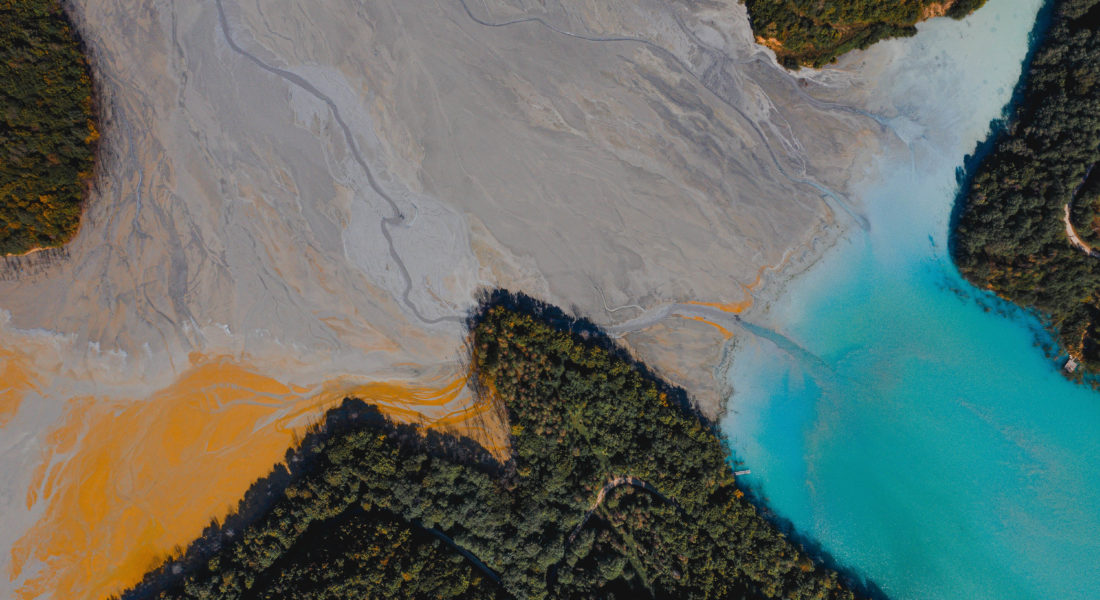
Pollution is unnatural or harmful substances that get into our air and waterways.
What happens to water when it is polluted?
When water is polluted, it can hurt animal and plant species. It is important to keep our water clean and healthy.
What is a water filter?
Filtering is the process of removing matter from a liquid. A water filter can help us get rid of toxichemicals and keep our water clean. In this activity, we will try to use homemade water filters to filter out the pollutions from the mixtures we made.

Step One: Create your own pollution mixture
First, make different “pollutants” (you can choose which based on time and materials). To create the pollutant, first collect a range of materials like mud or dirt, food coloring, bits of leaves and grass, salad dressing, toothpaste. Get creative with it!
Mix your pollutant materials with water (collected from a kitchen sink or from outside) in a small cup or container. Repeat this process 3 times so that you have 3 different pollution mixtures.
Using a separate sheet of paper or a nature journal, write down your observations of each pollution mixture using the following questions:
What pollutant materials did you use?
What does the mixture smell like?
What does the mixture feel like?
What does the mixture look like? (Write or draw)
Answer each of these questions for all three pollution mixtures.

Step Two: Make your Water Filter
Grab your empty plastic water bottle and cut it in half. Keep the cap screwed on but poke a small hole in the top with a pair of scissors (parents or guardians can help with this).
To create the water filter, flip the top half of the water bottle upside down and set it onto the bottom half of the water bottle, drinking spout facing down, like this:

Begin by taking a cotton ball and placing it into the drinking spout. From here, students will design their own filters by layering different materials over the cotton ball. We recommend using cotton balls, coffee filters, sand, and some small rocks. Parents or guardians can support their students in creating the filters.
Step Three: Test Your Filter on Each Pollutant
Once your filters have been built, you can being testing your first pollutant. Pour the pollution mixture over the filter and watch it drain into the cup below. If nothing is draining, pour more water (as necessary) into the funnel. Watch the water slowly fill the cup below. If nothing is draining, pour more water (as necessary) intro the funnel. Watch the water slowly fill up the cup. Once it has filtered completely, clear out any pollutants hanging around. Repeat for each pollution mixture.
Go ahead and write down your observations in a nature journal as you filter each pollution mixture, using the same questions to answered during step one:
What pollutant materials did you use?
What does the mixture smell like?
What does the mixture feel like?
What does the mixture look like? (Write or draw)
Answer each of these questions for all three pollution mixtures.

Download a PDF of this lesson or check out other distance learning lessons.
Tell us what you think! Take this short survey.


